EQ Frequency Guide: A Comprehensive Overview (Updated 12/21/2025)
Today, December 21st, 2025, marks a pivotal moment in audio understanding, as we explore equalization—a tool for shaping sound, enhancing clarity, and achieving sonic perfection.
What is EQ and Why Use It?
Equalization (EQ) is the process of adjusting the volume of specific frequency ranges within an audio signal. Essentially, EQs take a signal with a particular frequency distribution and modify it, boosting or cutting energy at certain points. This manipulation is crucial for achieving a balanced and polished sound.
Why use EQ? The reasons are numerous. It can correct tonal imbalances, like muddiness or harshness. It enhances clarity, making instruments and vocals more distinct. EQ sculpts the sonic landscape, creating space for each element in a mix. Remember fiddling with a 10-band EQ to get the best sound?
Even excellent headphones benefit from EQ tweaking, as no two sets are created equal. Personal preference plays a huge role, and EQ allows you to tailor the sound to your ears and listening environment. It’s about refining the audio, not just changing it.
The Basics of Frequency and Hertz (Hz)
Frequency is a fundamental concept in audio, representing the number of cycles – or sonic vibrations – that occur per second. This is measured in Hertz (Hz). A higher frequency means more vibrations per second, perceived as a higher pitch. Conversely, a lower frequency equates to fewer vibrations, resulting in a lower pitch.
The human ear typically perceives frequencies ranging from 20Hz to 20kHz (20,000 Hz), though this range diminishes with age. Understanding this spectrum is vital for effective EQing. Lower frequencies (20Hz-250Hz) form the foundation of sound, while higher frequencies (4kHz-20kHz) contribute to air and brilliance.

When dealing with EQ settings, grasping frequency and Hertz is paramount. It allows you to pinpoint specific areas of the audio spectrum to adjust, enabling precise tonal shaping and a more refined listening experience.
Types of Equalizers: Graphic, Parametric, and Dynamic
Equalizers (EQs) come in diverse forms, each offering unique control over the frequency spectrum. Graphic EQs utilize fixed frequency bands with sliders to boost or cut specific ranges. They’re visually intuitive but offer limited precision.
Parametric EQs provide greater flexibility, allowing control over frequency, gain (boost/cut), and bandwidth (Q factor). This enables precise targeting of problem frequencies. They are favored for detailed mixing and mastering.
Dynamic EQs take equalization a step further by making frequency adjustments dependent on the signal’s level. This is incredibly useful for taming harsh resonances or adding clarity only when needed. They are a true life saver in certain mix situations.
Choosing the right EQ depends on the task at hand and desired level of control.

Understanding the Frequency Spectrum
Frequency, measured in Hertz (Hz), represents the rate of sound vibrations per second. The human ear generally perceives frequencies from 20Hz to 20kHz, though this range diminishes with age. Understanding this spectrum is crucial for effective equalization.
The spectrum is broadly divided into low, mid, and high frequencies. Low frequencies (20Hz ⸺ 250Hz) provide the foundational rumble and bass. Mid frequencies (250Hz ― 4kHz) contain the core of most instruments and vocals, defining their body and clarity.
High frequencies (4kHz ― 20kHz) add air, brilliance, and detail. Manipulating these ranges allows you to sculpt the overall tonal balance of your audio. EQs take a signal and output boosted or cut energy at certain points.

Low Frequencies (20Hz ― 250Hz): The Foundation
Low frequencies, spanning 20Hz to 250Hz, form the bedrock of your audio, delivering the power and depth that you physically feel. This range houses the fundamental tones of bass instruments like kick drums and bass guitars, providing the rhythmic pulse;
Careful EQing here is vital. Too much boost can create muddiness and a lack of definition, while excessive cuts can leave your track sounding thin and weak. Focus on clarity and control. Subtractive EQ is often preferred, removing unwanted rumble or resonances.
Consider the context; a hip-hop track will demand more low-end presence than a folk song. Precise adjustments in this range establish a solid foundation for the rest of your mix, ensuring impactful and balanced sound.
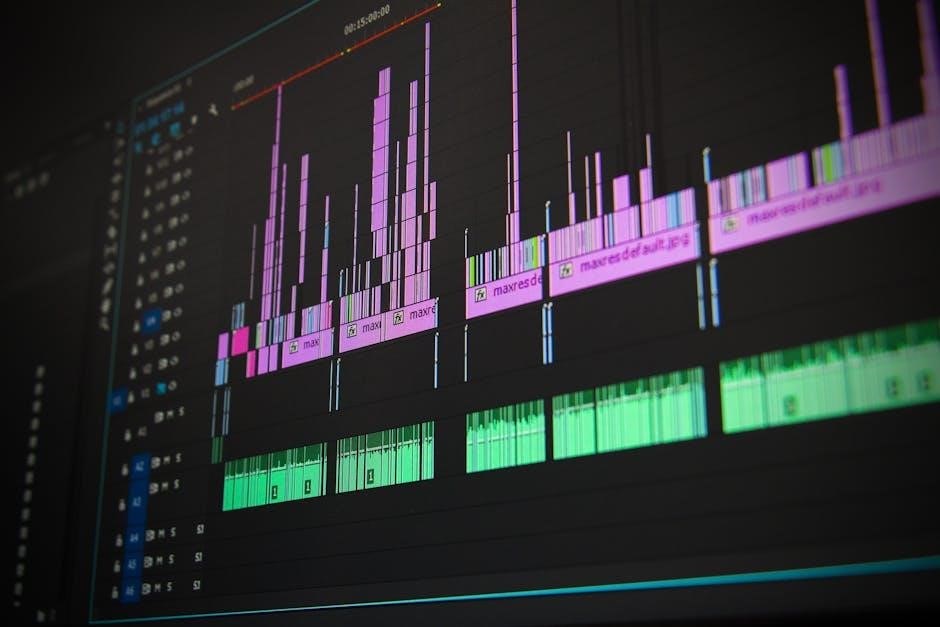
Mid Frequencies (250Hz ― 4kHz): Body and Definition
The mid-frequency range, from 250Hz to 4kHz, is where the majority of instruments and vocals reside, defining their character and intelligibility. This is where “body” and “definition” truly come to life, impacting how listeners perceive the core elements of your mix.
![]()
Around 500Hz-1kHz, you’ll find much of the fundamental energy of many instruments; boosting here can add warmth, but also muddiness. Cuts can clear up a crowded mix. The 2kHz-4kHz area is crucial for vocal clarity and presence – too much can sound harsh, too little, muffled.
Careful sculpting in the mids is essential for separation and ensuring each element has its own space. Dynamic EQ can be particularly useful here, addressing problematic frequencies only when they become prominent.
High Frequencies (4kHz ― 20kHz): Air and Brilliance
The high-frequency spectrum, spanning 4kHz to 20kHz, contributes to the “air” and “brilliance” of a sound, adding sparkle and a sense of openness. These frequencies are responsible for the subtle details that make a mix sound polished and professional, but require a delicate touch.
Boosting above 10kHz can add perceived spaciousness, especially with cymbals and vocals, but excessive boosts can introduce harshness or sibilance. Conversely, gentle cuts can tame overly bright sources. Modern headphones and speakers, being higher quality, reveal these nuances.
Remember, the human ear is less sensitive to these higher frequencies, so subtle adjustments often yield the best results. Careful EQing in this range can elevate a mix, making it sound more vibrant and engaging.
EQing for Common Instruments
Effective EQing hinges on understanding how different instruments occupy the frequency spectrum. Each instrument possesses unique characteristics requiring tailored adjustments for optimal clarity and separation within a mix. Mastering these techniques is crucial for achieving a professional sound.
Vocals often benefit from subtle boosts in the 2-5kHz range for presence, while taming harshness around 3kHz. Bass guitar needs punch around 60-80Hz and definition in the 250-500Hz range. Acoustic guitars thrive with gentle boosts in the midrange for warmth and clarity.
Drums require careful sculpting; kick drums need low-end power, snares benefit from midrange snap, and cymbals need controlled high-frequency air. Remember, subtractive EQ is often more effective than boosting, creating space and avoiding muddiness.
EQing Vocals for Clarity and Presence
Achieving vocal clarity and presence requires a nuanced approach to equalization. Begin by identifying and addressing any muddiness in the low-mid frequencies (200-500Hz), gently reducing these areas to create space for other instruments. A subtle boost between 2-5kHz can enhance articulation and intelligibility, bringing the vocals forward in the mix.
However, be cautious with this range, as excessive boosting can introduce harshness. Around 3kHz, carefully listen for any unpleasant resonances and apply narrow cuts to smooth them out. Sibilance (harsh ‘s’ sounds) can be tamed with a de-esser, or with precise cuts around 6-8kHz.
High-frequency air (above 10kHz) can add a sense of openness, but use sparingly. Remember, context is key – adjust EQ based on the vocalist’s tone and the song’s genre.
EQing Bass Guitar for Punch and Definition
Crafting a powerful and defined bass guitar tone hinges on strategic equalization. Focus initially on the fundamental frequencies, typically between 40-250Hz, to establish the instrument’s core weight and presence. A gentle boost around 60-80Hz can add substantial punch, but avoid overdoing it, as this can lead to muddiness.
To enhance clarity and definition, subtly boost frequencies in the 800Hz-1.5kHz range, focusing on the attack and pick definition. Conversely, reduce any boxiness or muddiness in the 250-500Hz region. Be mindful of interactions with the kick drum; carving out space for both instruments is crucial.
A touch of high-frequency boost (2-4kHz) can add subtle harmonic richness, but proceed cautiously to avoid harshness. Experimentation is key, tailoring the EQ to the specific bass and musical style.
EQing Acoustic Guitar for Natural Tone
Achieving a natural acoustic guitar tone with EQ requires a delicate touch, preserving its inherent warmth and clarity. Begin by addressing the low-end, gently rolling off frequencies below 120Hz to eliminate rumble and muddiness. A subtle boost around 150-250Hz can add body and fullness, but avoid excessive boosting, which can sound boomy.
The key to acoustic guitar clarity lies in the midrange. A gentle dip around 400-600Hz can reduce boxiness, while a subtle boost between 2-5kHz enhances articulation and presence. Pay attention to the instrument’s natural resonances and accentuate them, rather than fighting against them.
High-frequency air (8-12kHz) can add sparkle, but use it sparingly to avoid harshness. Remember, less is often more when EQing acoustic guitars.
EQing Drums for Impact and Separation
EQing drums is crucial for achieving a powerful and well-defined kit. For the kick drum, boost around 60-80Hz for thump and 3-5kHz for attack – be careful not to overdo it, as muddiness can quickly develop. Snares benefit from a boost around 200-300Hz for body and 5-8kHz for snap and crack.
To create separation, strategically cut frequencies where different drum elements clash. For example, reduce low-mid frequencies (250-500Hz) in the toms if they’re masking the kick. High-frequency boosts (8-12kHz) on cymbals add air and shimmer, but watch for harshness.
Remember, dynamic EQ can be incredibly useful for controlling transient peaks and maintaining a balanced sound.
EQing for Different Audio Sources
EQ isn’t a one-size-fits-all solution; different sources demand unique approaches. Headphones, for instance, often require EQ to compensate for their inherent frequency response and personalize the sound to individual preferences. Many users find EQ apps can dramatically improve the sound of existing headphones or earbuds.
Speakers, conversely, often need EQ for room correction. Room acoustics significantly impact sound, and EQ can help tame resonances or fill in dips in the frequency response. Before investing in new speakers, explore EQ options to optimize your current setup.
Ultimately, understanding the source’s characteristics is key to effective equalization, ensuring a balanced and enjoyable listening experience.
EQing Headphones for Personalized Sound
Headphones present a unique EQ challenge due to their close proximity to the ear and varying frequency responses. Even the best wired headphones benefit from subtle tweaking to match individual hearing profiles and preferences. A “pristine” sound out-of-the-box doesn’t always equate to your ideal sound.
Consider boosting frequencies where your headphones lack clarity or cutting those that sound harsh. Many users discover equalization apps can transform their existing headphones, making them sound like a more expensive pair. Experimentation is crucial!

Personalized EQ profiles allow you to tailor the sound to specific genres or even individual tracks, maximizing your listening enjoyment and revealing nuances you might have missed.
EQing Speakers for Room Correction
Unlike headphones, speakers are heavily influenced by the acoustics of the listening environment. Room reflections, boundaries, and furniture all contribute to uneven frequency responses, creating peaks and dips in the sound. EQing speakers, therefore, often focuses on room correction – compensating for these acoustic anomalies.
Identifying problematic frequencies often requires measurement tools or careful listening. Boosting frequencies that are diminished by room absorption, or cutting those amplified by reflections, can dramatically improve clarity and balance.
Remember, EQ is not a substitute for proper speaker placement and acoustic treatment, but it’s a powerful tool for refining the sound within a given space, achieving a more accurate and enjoyable listening experience.
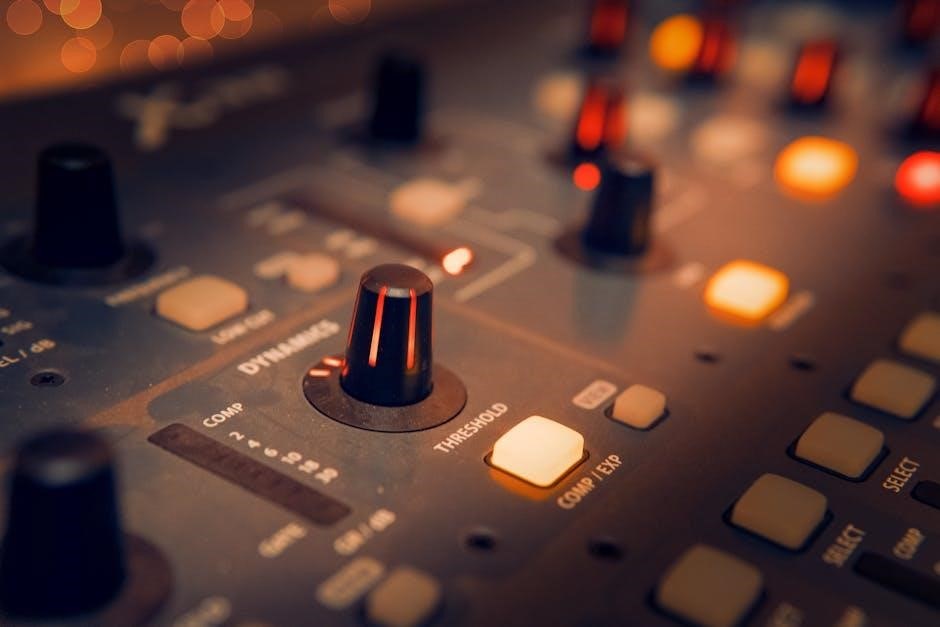
Dynamic EQ: Level-Dependent Frequency Adjustments
Traditional EQ applies static adjustments to frequencies, meaning the boost or cut remains constant regardless of the signal’s volume. Dynamic EQ, however, introduces a level-dependent element, reacting to the incoming signal’s amplitude. This allows for surgical precision, addressing issues that only manifest at certain volume levels.
For example, a resonant frequency might become harsh during louder passages. A dynamic EQ can automatically reduce that frequency only when it crosses a defined threshold, leaving the quieter parts unaffected. This is a true life saver in certain mix situations.

It’s a sophisticated tool, offering nuanced control and preventing over-correction, ultimately resulting in a more natural and polished sound.
Common EQ Mistakes to Avoid
One frequent error is excessive boosting, often leading to a muddy or harsh sound. Remember, boosting amplifies not only the desired frequencies but also any unwanted noise present. Prioritize subtractive EQ – cutting problematic frequencies – for a cleaner result.
Another common mistake is applying broad EQ curves when precise adjustments are needed. Narrow, surgical cuts are often more effective than sweeping boosts or cuts across large frequency ranges. Avoid “EQing in solo”; always assess changes within the context of the full mix.
Finally, resist the urge to drastically alter the sound; subtle adjustments are usually more impactful and maintain the natural character of the audio source.
Using EQ in Mixing and Mastering
During mixing, EQ serves a corrective and creative role. It clarifies individual instrument frequencies, preventing muddiness and frequency masking, ensuring each element has its sonic space. Use EQ to sculpt tones, enhancing desirable characteristics and taming harshness, always considering the overall mix balance.
In mastering, EQ is more subtle, focusing on broad tonal shaping and final polish. It addresses minor imbalances and enhances the overall sonic cohesion of the track. Mastering EQ often involves gentle, wide-band adjustments to improve clarity and loudness.
Remember, mastering EQ should complement the mix, not attempt to fix fundamental issues. A well-mixed track requires minimal mastering EQ.
EQ Plugins and Software Options
The digital audio workstation (DAW) landscape offers a vast array of EQ plugins. Many DAWs include stock EQs, ranging from simple graphic EQs to versatile parametric and dynamic EQs, providing a solid starting point for most mixing tasks.
Third-party plugins expand these options significantly. Popular choices include FabFilter Pro-Q 3, known for its visual interface and precise control; Waves Renaissance EQ, emulating classic analog EQs; and iZotope Ozone EQ, integrated within a mastering suite.
Consider plugin type based on needs: graphic EQs for broad adjustments, parametric for surgical precision, and dynamic EQs for level-dependent shaping. Experimentation is key to finding tools that suit your workflow and sonic preferences.
The Importance of Subtractive EQ
Subtractive equalization, the art of reducing unwanted frequencies, is often more effective than boosting. Adding frequencies can introduce harshness or muddiness, while cutting problematic areas cleans up the mix and creates space for instruments to breathe.
Identify resonant frequencies or muddiness by sweeping narrow cuts across the spectrum. Focus on removing frequencies that clash or mask other elements. A gentle, surgical approach yields more natural results than broad, aggressive boosts.
Prioritize clarity and separation. Removing low-mid frequencies from vocals can improve intelligibility, while cutting boxiness from guitars enhances their presence. Subtractive EQ is a foundational mixing technique.
EQ and the Human Ear: Perception and Psychoacoustics
Our perception of frequency isn’t linear; the human ear is more sensitive to certain ranges. Understanding this is crucial for effective EQing. We perceive mid-frequencies (around 1kHz-4kHz) as particularly important for speech intelligibility and instrument definition.
Psychoacoustics reveals how our brains interpret sound. Equal loudness contours demonstrate that we need more energy at lower frequencies to perceive them as equally loud as higher frequencies. This impacts EQ decisions – a small boost in the bass can sound significantly louder.
Masking occurs when louder sounds obscure quieter ones. EQ can minimize masking by carving out space for each instrument, ensuring clarity and balance. Consider Fletcher-Munson curves when making adjustments.
Microphone Selection and its Impact on EQ Needs
The microphone you choose fundamentally shapes the sound entering your recording chain, directly influencing subsequent EQ requirements. Different microphones possess unique frequency responses; some excel at capturing warmth, while others prioritize clarity and detail.
A microphone with a pronounced low-end boost might necessitate subtractive EQ to prevent muddiness, whereas a brighter microphone could benefit from a gentle low-frequency lift. Understanding a microphone’s inherent characteristics is paramount.
Whether utilizing a computer’s built-in array, a USB microphone, an audio interface, or a dedicated headset, the microphone’s sonic signature dictates the initial tonal balance. Careful microphone selection minimizes the need for extensive EQ correction later in the mixing process.
Golden Age of Audio: High-Quality Headphones and Speakers
We currently reside in a remarkable era for audio reproduction, witnessing unprecedented accessibility to high-quality headphones, earbuds, and speakers. This proliferation of superior listening devices dramatically impacts how we perceive and utilize equalization.
Previously, compensating for subpar playback systems often required drastic EQ adjustments. Now, with more accurate and detailed reproduction, subtle EQ moves become more effective, enhancing rather than masking inherent sonic qualities.
Investing in quality monitoring tools—headphones and speakers—reveals nuances previously obscured, allowing for more informed and precise EQ decisions. Before extensive EQ, consider if improved playback can achieve the desired sound.